네이버 개발자에서 등록 먼저 하기 !!
https://developers.naver.com/apps/#/myapps/YP_J3Qwb0dVPZzak0x8Q/overview
애플리케이션 - NAVER Developers
developers.naver.com
const axios = require('axios');axios는 HTTP 요청을 보내기 위한 라이브러리다!
const NAVER_OAUTH_TOKEN_API_URL = "https://nid.naver.com/oauth2.0/token";
const NAVER_USER_PROFILE_API_URL = "https://openapi.naver.com/v1/nid/me";
const NAVER_CLIENT_ID = "";
const NAVER_REDIRECT_URL = "http://localhost:3000/auth/naver/callback";
네이버 OAuth 인증에 필요한 URL과 클라이언트 ID, 리디렉션 URL을 저장하는 변수들!
export async function naverAuth(code) {
  try {
    const tokenResponse = await axios.post(NAVER_OAUTH_TOKEN_API_URL, null, {
      params: {
        grant_type: "authorization_code",
        client_id: NAVER_CLIENT_ID,
        redirect_uri: NAVER_REDIRECT_URL,
        code,
      },
    });

    const accessToken = tokenResponse.data.access_token;

    const userResponse = await axios.get(NAVER_USER_PROFILE_API_URL, {
      headers: {
        Authorization: `Bearer ${accessToken}`,
      },
    });

    const userInfo = userResponse.data;

    return userInfo;
  } catch (error) {
    console.error(error);
    throw new Error("Internal Server Error");
  }
}naverAuth 함수!
네이버 소셜 로그인 과정에서 사용자 정보를 가져오기 위한 비동기 함수다! - 인자로 code(인가 코드)
tokenResponse
네이버 OAuth 토큰 API에 액세스 토큰을 요청하고 응답을 받아오는 부분이다!
axios.post() 메서드를 사용해서 POST 요청을 보낸다!
요청 시 필요한 파라미터들(grant_type, client_id, redirect_uri, code)은 객체 형태로 params에 전달된다!
userResponse
네이버 유저 프로필 API에서 유저 정보를 가져오기 위해 GET 요청을 보낸다!
axios.get() 메서드를 사용하고, 액세스 토큰은 Authorization 헤더에 Bearer 스킴으로 포함되어 전송된다!

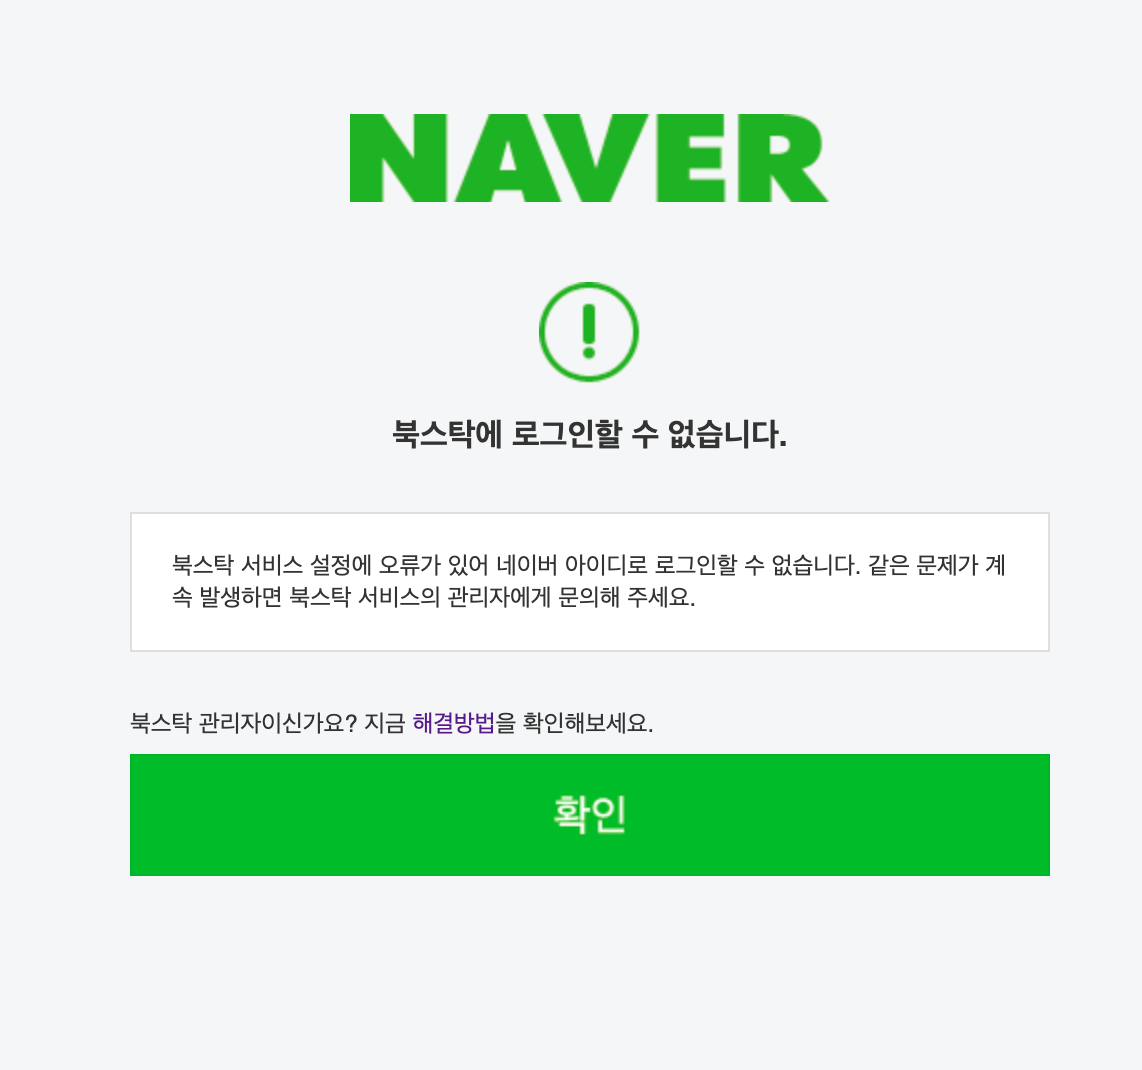
처음 연결했을때 잘못돼서 나왔던 화면ㅎㅎ..ㅎㅎ

짜라 이런 화면이 나와야 연결된 것이다~!
나머지 연결코드는 카카오와 똑같다고 보면 된다!
아래링크는 카카오 로그인 정리 포스팅
https://duseul.tistory.com/216
[9.15(금) 북스탁 프로젝트] 소셜로그인 구현 | 카카오간편로그인 API연결하기(node.js)
짜잔 부트스트랩을 한땀한땀 수정해서 만든 회원가입페이지이다. 드디어 조금 웹사이트같아졌다ㅎㅎ 요렇게 마우스를 올리면 노랑이로 바뀐다. 네이버 간편로그인도 연결해야하는데 카카오부
duseul.tistory.com
'Project > final' 카테고리의 다른 글
| [9.20(수) 북스탁 프로젝트] Category Modal 카테고리 모달창 구현 | 메인카테고리와 서브카테고리 보여주기 (0) | 2023.09.21 |
|---|---|
| [9.19(화) 북스탁 프로젝트] 로그인 접근제어(로그인한 사람만 마이페이지에 접근하기!) | RequireLogin.js (0) | 2023.09.20 |
| [9.16(토) 북스탁 프로젝트] 2차 멘토링 대대성공!! 칭찬일색 ~ 피드백 100% 수용했다! (0) | 2023.09.19 |
| [9.15(금) 북스탁 프로젝트] 카카오 소셜로그인 구현 | 카카오 간편로그인API연결하기(node.js) (0) | 2023.09.16 |
| [9.14(목) 북스탁 프로젝트] 도서 검색결과 페이지를 만들어보자 ~! (0) | 2023.09.14 |


